
How to clean a shark vacuum cleaner. In this article, I will show you a step-by-step process.
When I had free time, I cleaned my house. Then, I suddenly noticed that my shark vacuum was not turning on. My vacuum stopped; I wondered why my shark vacuum wouldn't turn on. Then, I researched it, and finally, I reached a solution. So, let's show you how I fixed my vacuum and how you clean your vacuum.
How to Clean Your Shark Vacuum
Owning a Shark vacuum is a testament to your commitment to cleanliness, and to ensure it consistently performs at its best, regular and thorough cleaning is essential. In this complete guide, we will delve into the various signs that indicate your Shark vacuum requires cleaning and provide detailed step-by-step instructions on cleaning each component effectively.
Signs Your Shark Vacuum Needs Cleaning:
Loss of Suction:
- A substantial decrease in suction power is a familiar issue that can arise due to various factors. Recognizing and promptly addressing this issue is crucial, whether it's a sizable fuzzball or a filter that has reached its capacity. We'll explore potential causes and solutions to restore optimal suction power.
Visible Dirt Left Behind:
- The hallmark of a well-functioning Shark vacuum is its ability to leave no trace of crumbs or debris behind. If you notice an unexpected dirt trail, we'll investigate the potential causes and guide you through the steps to rectify this issue.
Weird Sound:
- Unusual sounds emanating from your Shark vacuum can be disconcerting, often indicating an issue that needs attention. We'll explore the reasons behind these sounds and provide detailed insights into how you can alleviate them to prevent motor strain and ensure the longevity of your vacuum.
Unpleasant Odor:
- A clean and well-maintained Shark vacuum should never emit an unpleasant odor. If you detect any foul smells, we'll examine the potential sources and guide you through a thorough cleaning process to eliminate odors and restore a fresh, clean scent to your vacuum.
Materials Needed
✅ Warm water
✅ Dishwashing liquid
✅ Cleaning cloth
✅ Wood skewer or similar
✅ Flashlight
✅ Soft brush like a bottle brush
✅ Scissors
Step By Steps How to Clean Shark Vacuum Cleaner
Over five years of using Shark vacuums, I've gained extensive experience with various models. While the company has introduced many models, the fundamental components and operational principles remain consistent. This section will explore each step in-depth, ensuring a meticulous cleaning process tailored to your Shark vacuum model.
If your vacuum has charging problems, read this: Why Is My Shark Robot Vacuum Not Charging. so let's see step by step how to clean your vacuum.
Step 1: Disassemble
Before embarking on the cleaning process, it's essential to disassemble your Shark vacuum carefully. We'll guide you through removing the dust canister, foam/felt filters, HEPA filter and cover, and the handle hose. Attention to detail in noting the filter placement ensures a seamless reassembly process.
Step 2: Check for and Clear Obstructions
Thoroughly inspect every opening of your Shark vacuum for potential obstructions. This step involves a hands-on approach, either manually removing debris or using a damp cloth. We'll also introduce a wooden skewer for hard-to-reach areas, ensuring a comprehensive obstruction-clearing process.
Step 3: Clean and Empty the Dirt Canister
The dirt canister is pivotal in your vacuum's functionality, and regular cleaning is paramount. We'll guide you through emptying the canister, cleaning it in warm, soapy water, and employing a long-handled brush or cloth to scrub any residual dirt. Attention to thorough drying ensures the canister is ready for reassembly.
Step 4: Shark Vacuum Filter Cleaning
Shark vacuums boast an excellent filter system comprising foam, felt filters, and often a HEPA filter. This step involves meticulously examining each filter type, detailing the rinsing process, and emphasizing the importance of allowing the filters to dry completely before reassembly. We'll address common concerns and provide practical solutions for maintaining the filters' integrity.
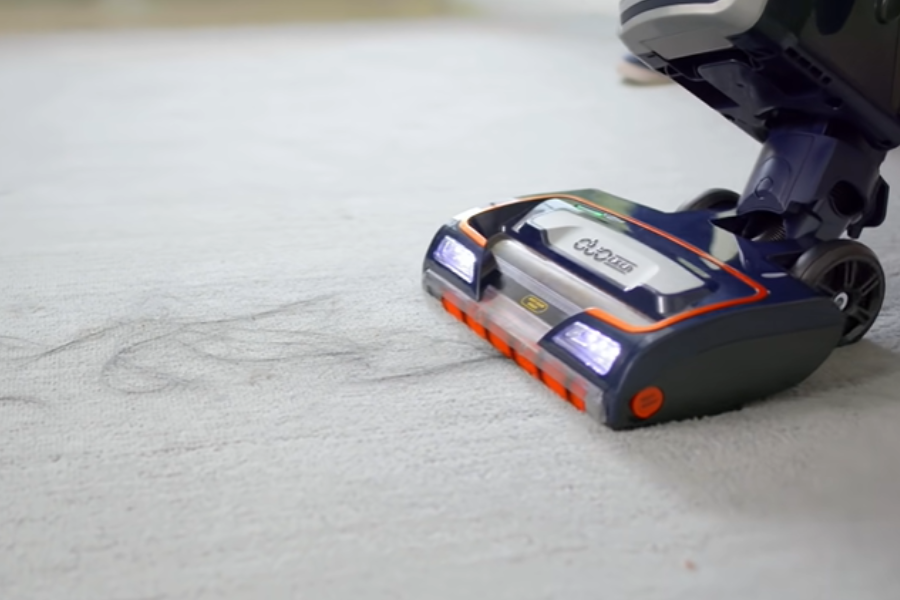
Step 5: Clean the Rotating Brush Head
The rotating brush head is a critical component responsible for effective cleaning. We'll guide you through laying the vacuum on the floor, inspecting the brush for entangled strings or hair, and using scissors to cut through and clean the brush. This step ensures the rotating brush is restored to an optimal, debris-free condition.
Step 6: Clean the Handle Hose
The handle hose, a component prone to accumulating sticky dust and grime, requires special attention. We'll guide you through safely removing the hose, soaking it in soapy water, employing a brush or cloth for cleaning, and ensuring thorough drying before reattachment. Attention to detail prevents potential issues and contributes to the vacuum's smooth performance.
Step 7: Reassemble the Vacuum
The final step involves the meticulous reassembly of your Shark vacuum. We'll guide you through the proper order of reattaching components, emphasizing the importance of placing filters correctly and securely locking the dirt canister. This ensures a seamless transition from cleaning to enjoying the renewed efficiency of your freshly maintained Shark vacuum.
Common Mistakes To Avoid
Overlooking Filter Cleaning
Users often need to realize the importance of cleaning the filter regularly. Filters are essential in keeping dust and germs out of the vacuum. When the filter becomes clogged, the vacuum's performance decreases. Follow the user manual's recommendations on how often to clean or change the filter.
Neglecting the Dustbin
The trash on your Shark vacuum is a dirt and other debris receptacle. If you empty, the garbage can frequently, the pulling power increases, making the whole process less efficient. For best performance, open the trash can after each use or when it reaches the recommended level of fullness.
Using the Wrong Cleaning Agents
Some cleaners are incompatible with your Shark vacuum. Spilling strong chemicals or liquids into the Hoover can damage its internals. Follow the manufacturer's instructions for recommended cleaning products to preserve the condition of your Hoover and ensure its longevity.
Avoid making these common mistakes with your Shark vacuum. Doing so will contribute to its longevity and increased performance, keeping it in excellent condition for years.
Conclusion:
With your Shark vacuum thoroughly cleaned and reassembled, you can confidently expect it to deliver top-notch performance for years. Regular cleaning not only preserves the functionality of your vacuum but also contributes to a healthier living environment by effectively capturing and removing dust and allergens. Enjoy the revitalized efficiency of your Shark vacuum and relish in the satisfaction of a job well done!


Comments
Great guide! I had a similar issue with my Shark vacuum and found your step-by-step process incredibly helpful. It's reassuring to know how to properly clean and maintain my vacuum to keep it running smoothly. Thanks for sharing this valuable information!
This article is a lifesaver! I recently encountered a similar issue with my Shark vacuum and had no idea where to start. Your step-by-step guide is incredibly helpful and easy to follow. Thanks for sharing your experience and helping others solve this common problem!
Nice post.
Nice post.
I have saved your website as a bookmark in order to read your new and up-to-date posts.
I have no words to express my gratitude for this post....I am truly impressed by this post...the author of this post was an exceptional individual.Thank you for revealing this to us.We appreciate your willingness to share information with us.