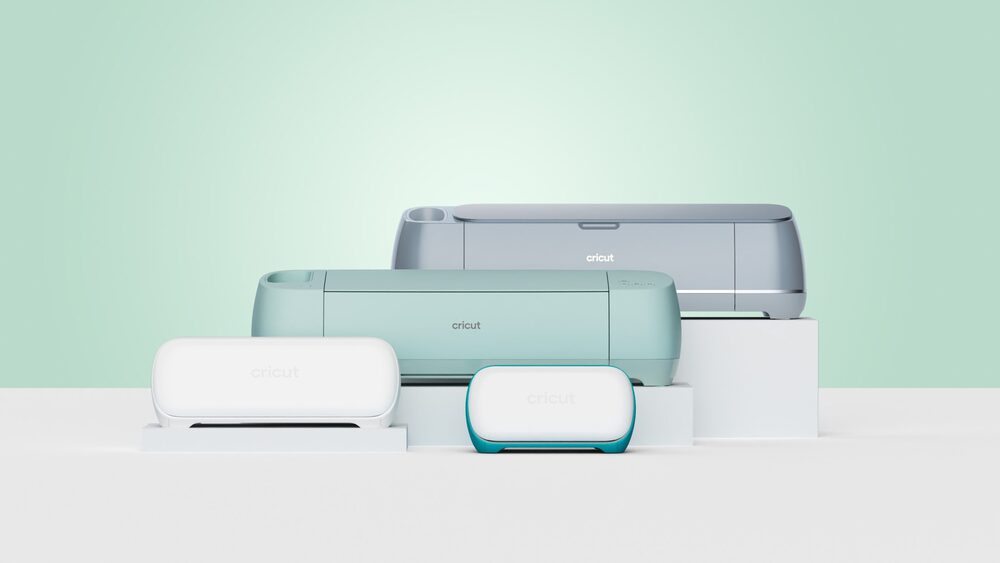
Introduction to Cricut Card Mat 2 x 2
The Cricut Card Mat 2 x 2 is designed to make up to four cards at a time and is compatible with insert card, cutaway card, and foil card kits. The mat allows you to use both ready-to-make designs and custom designs in Design Space, offering flexibility and convenience.
Making Cricut Insert Cards Using Ready-to-Make Projects
Selecting Your Machine and Design
Start by opening Design Space and ensuring your Cricut Maker or Cricut Explore machine is selected. From there, navigate to the “All categories” dropdown menu or select the “Cards” category. Type your search term to display a selection of pre-designed, ready-to-make cards. These designs can be customized to match the size of your card kit supplies.
Compatible Card Sizes
Cricut card kits come in various sizes, all of which are compatible with the Cricut Card Mat 2 x 2. The sizes include:
- R10: 3.5 in x 4.9 in (8.9 cm x 12.4 cm)
- R20: 4.25 in x 5.5 in (10.8 cm x 14 cm)
- R30: 4.5 in x 6.25 in (11.4 cm x 15.9 cm)
- R40: 4.75 in x 6.6 in (12.1 cm x 16.8 cm)
- S40: 4.75 in x 4.75 in (12.1 cm x 12.1 cm)
Note: The “R” before the card size identifies the card shape as rectangle, while the “S” signifies a square shape.
Tips for Using Pens and Foils
Many ready-to-make projects use a machine-compatible pen. The cut-out portion will correspond with your insert color, so choose your pen color accordingly to ensure a pleasing aesthetic. For an extra special touch, consider using a combination of pens and foil.
Designing Cricut Cutaway Cards
Understanding Cutaway Cards
Cutaway Cards apply a kiss cut to the backer piece, creating light cuts around the cardstock to reveal the contrasting material underneath. These cards do not require slits to hold an insert in place, offering a smooth, seamless look.
Steps to Design Cutaway Cards
- Set Up the Design: Use the Cutaway Card Design Setup in Design Space.
- Customize Size and Shape: Before adding elements to your design, select the size and shape of your card from the dropdown menu. This step will add a layer outlining your card's layout on the Canvas.
- Add Images and Text: Insert your desired images and text, ensuring they fit within the card's layout. For best weeding results, avoid designs with pieces smaller than 1/8” in diameter.
- Hide Unnecessary Layers: Before cutting, hide the layout layer and the square or rectangle layer.
Additional Design Tips
- Add a square or rectangle behind your design in the color of the cardstock you will be using.
- Use the edit bar for each layer to change the backer color and pen colors to match your design.
Preparing Cutaway Cards for Cutting
Before placing your card in the cutting machine, attach the backer to ensure all pieces stay in place during the cutting process.
Cutting Your Design
Selecting the Mat
When you click “Make it,” you'll be prompted to select your mat. Choose “On Card Mat – for pre-folded cards” and click continue. Design Space will automatically arrange and center the cards on the mat, keeping the same colors and sizes together.
Adjusting Placement and Quantity
To change the placement of your design, simply drag it to the desired open space. You can also use the dropdown menu on the far left to adjust the card size, as long as the design fits within the preset sizes. If you wish to make multiple copies of the same card, increase the project copies.
Conclusion
The Cricut Card Mat 2 x 2 offers a versatile and efficient way to create personalized cards. Whether using ready-to-make projects or designing custom cutaway cards, these tips and tricks will help you make the most of your Cricut experience. Happy crafting!
Article Refer By: cricut cat designs And cricut animal designs
Leave a Reply
Related Products
You Might Like Also

In recent years, there has been a significant surge in the demand for WordPress customization and integration services, marking a notable trend in the realm of web development. Read More

Years ago, I stumbled upon a treasure trove of creativity in an unexpected place: my school librarian's workspace. Witnessing her craft personalized items with ease using a Cricut sparked a journey of discovery and innovation in my own classroom. Read More


